Blog
Drawing the Hand in Colored Pencil

People often ask me about drawing hands in colored pencil. Hands are my favorite thing to draw! To me, hands are similar to the face in that they have interesting contours, folds and wrinkles to render, and yet don't carry the same weight in terms of depicting a likeness. That being said, people do say my hands look just like the people's hands I've rendered, perhaps because I don't feel this pressure and just enjoy the process.
First of all, as I wrote in my post about Drawing the Face in Colored Pencil, the most important skill to learn is how to draw the hands in graphite. Practice drawing the hand by breaking it down into basic shapes taking note of the size proportionality of the fingers to the entire hand, the width of the hand to length, etc. Also take note of angles relative to one another. Practice the hand in various positions.
Once you have mastered this skill, it is time to apply colored pencil. In the demo below, I will be sharing a colored pencil drawing step by step that I did from life of my left hand (I draw with my right). This demo with be done on a white paper with a sanded surface. When choosing surfaces, I find that sanded surfaces allow me to work quickly. If you are unsure of the best paper to use, refer back to my post on The Best Surfaces for Colored Pencil.
The pencils I used for this drawing are Faber Castell Polychromos.
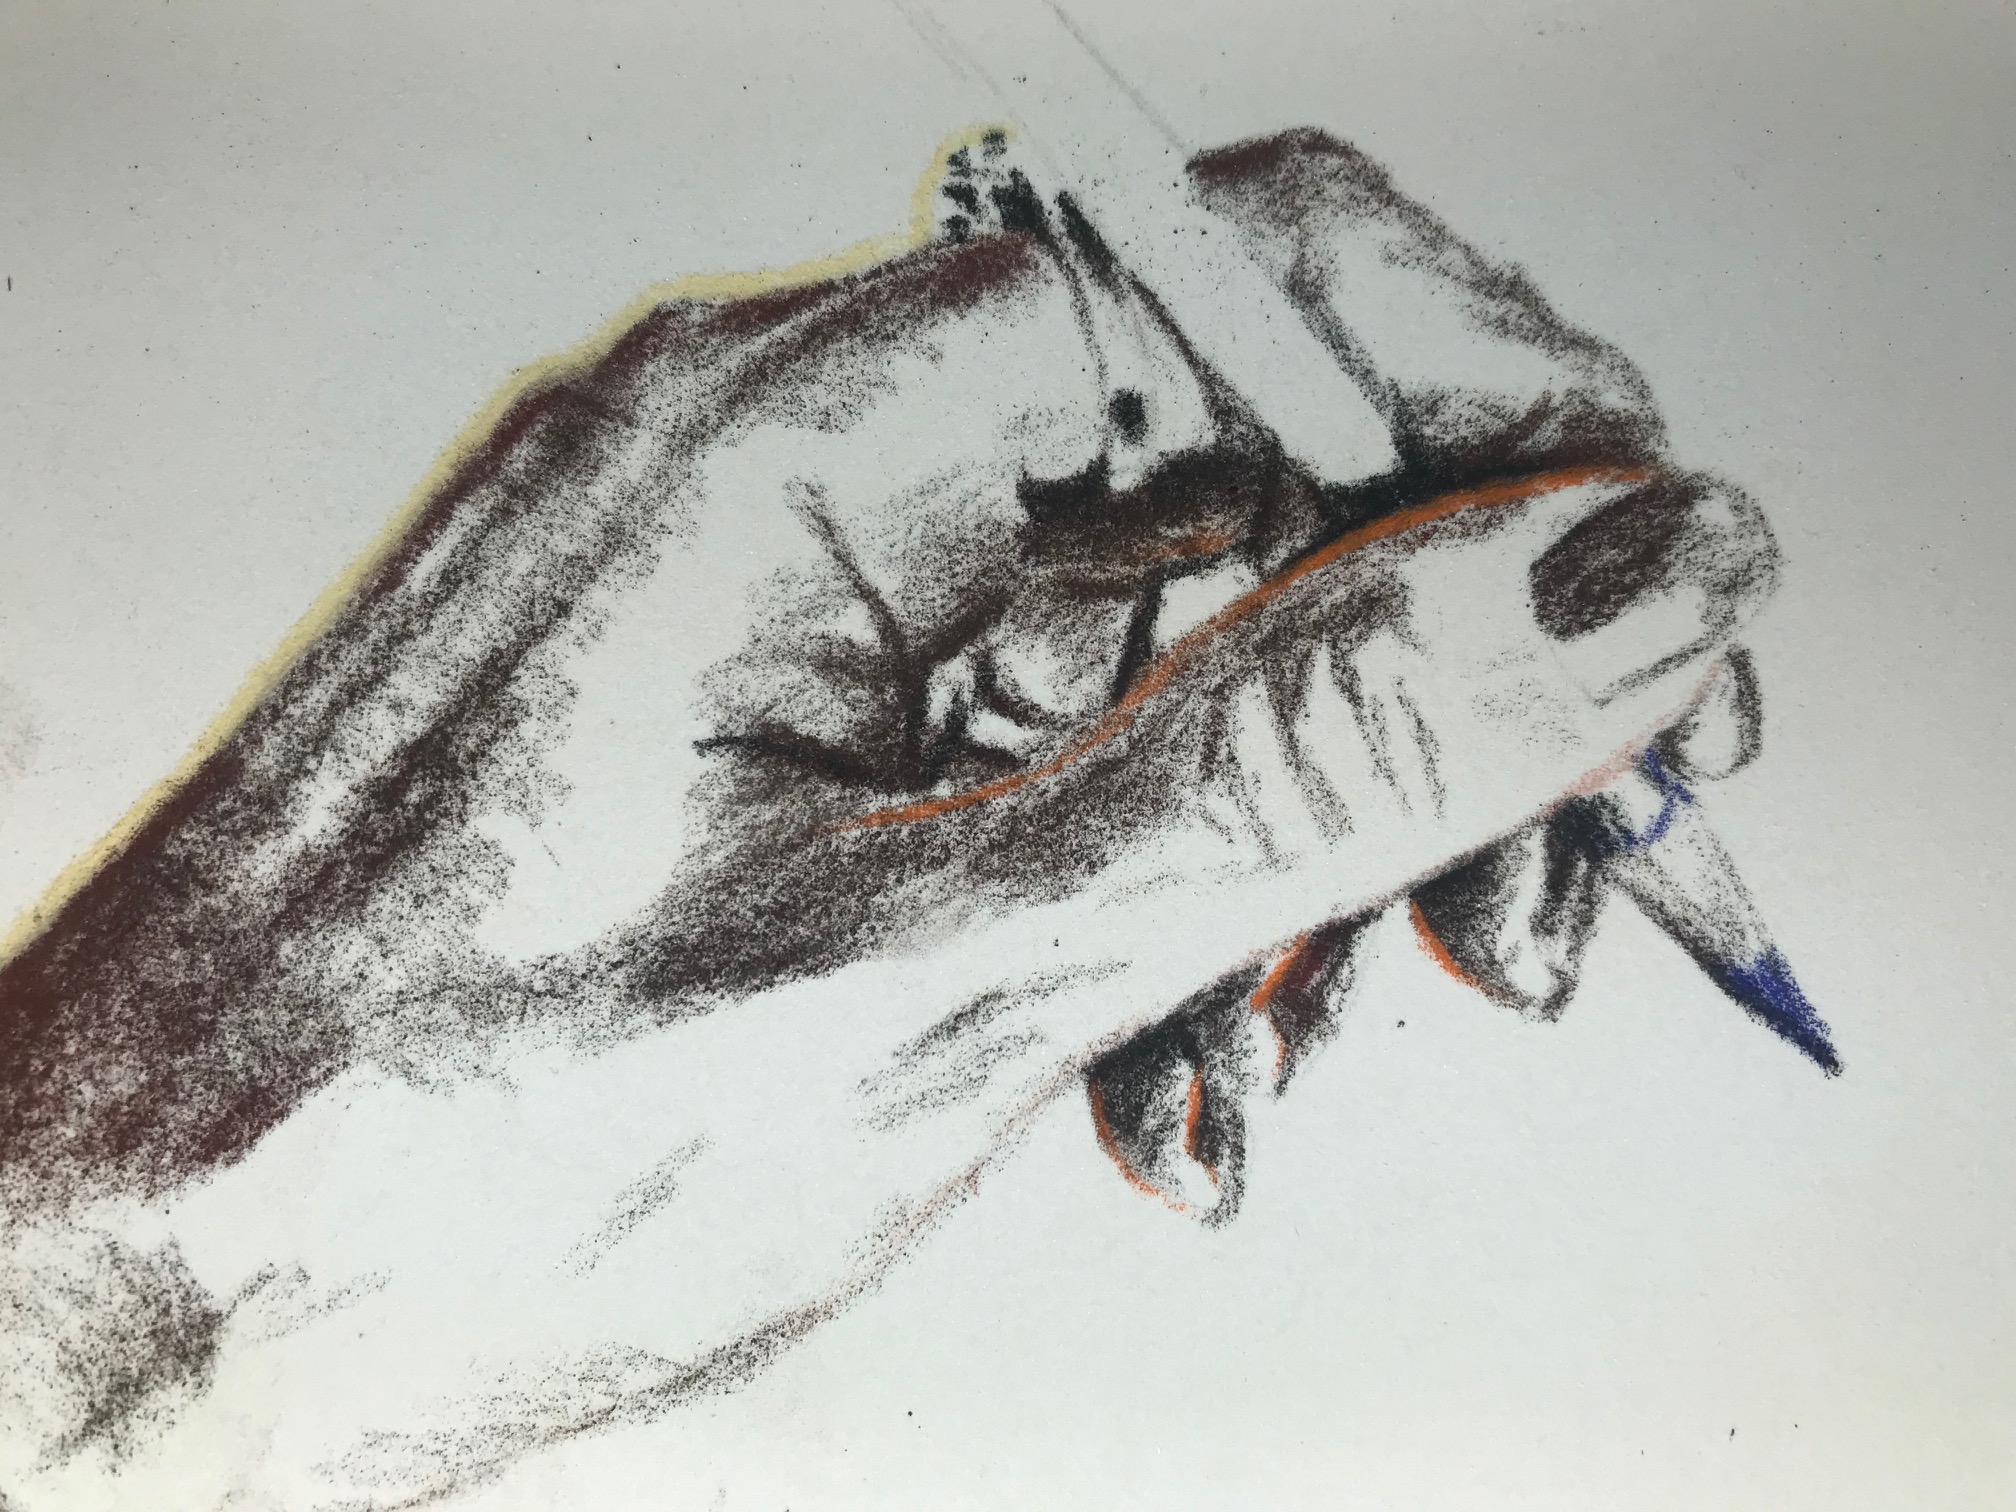
I like to start with the darkest values to define the contours and shapes. Here you can see I've laid down the darkest areas by applying a dark color with heavy pressure. I have also started to suggest the mid-tones by applying this dark color with a lighter pressures, and I have reserved the white of the paper for the lightest values. I am working from life here, but if you are working from a reference photo, resist the urge to use black for this step, as softer hues such as dark umber are more realistic for the darkest darks.
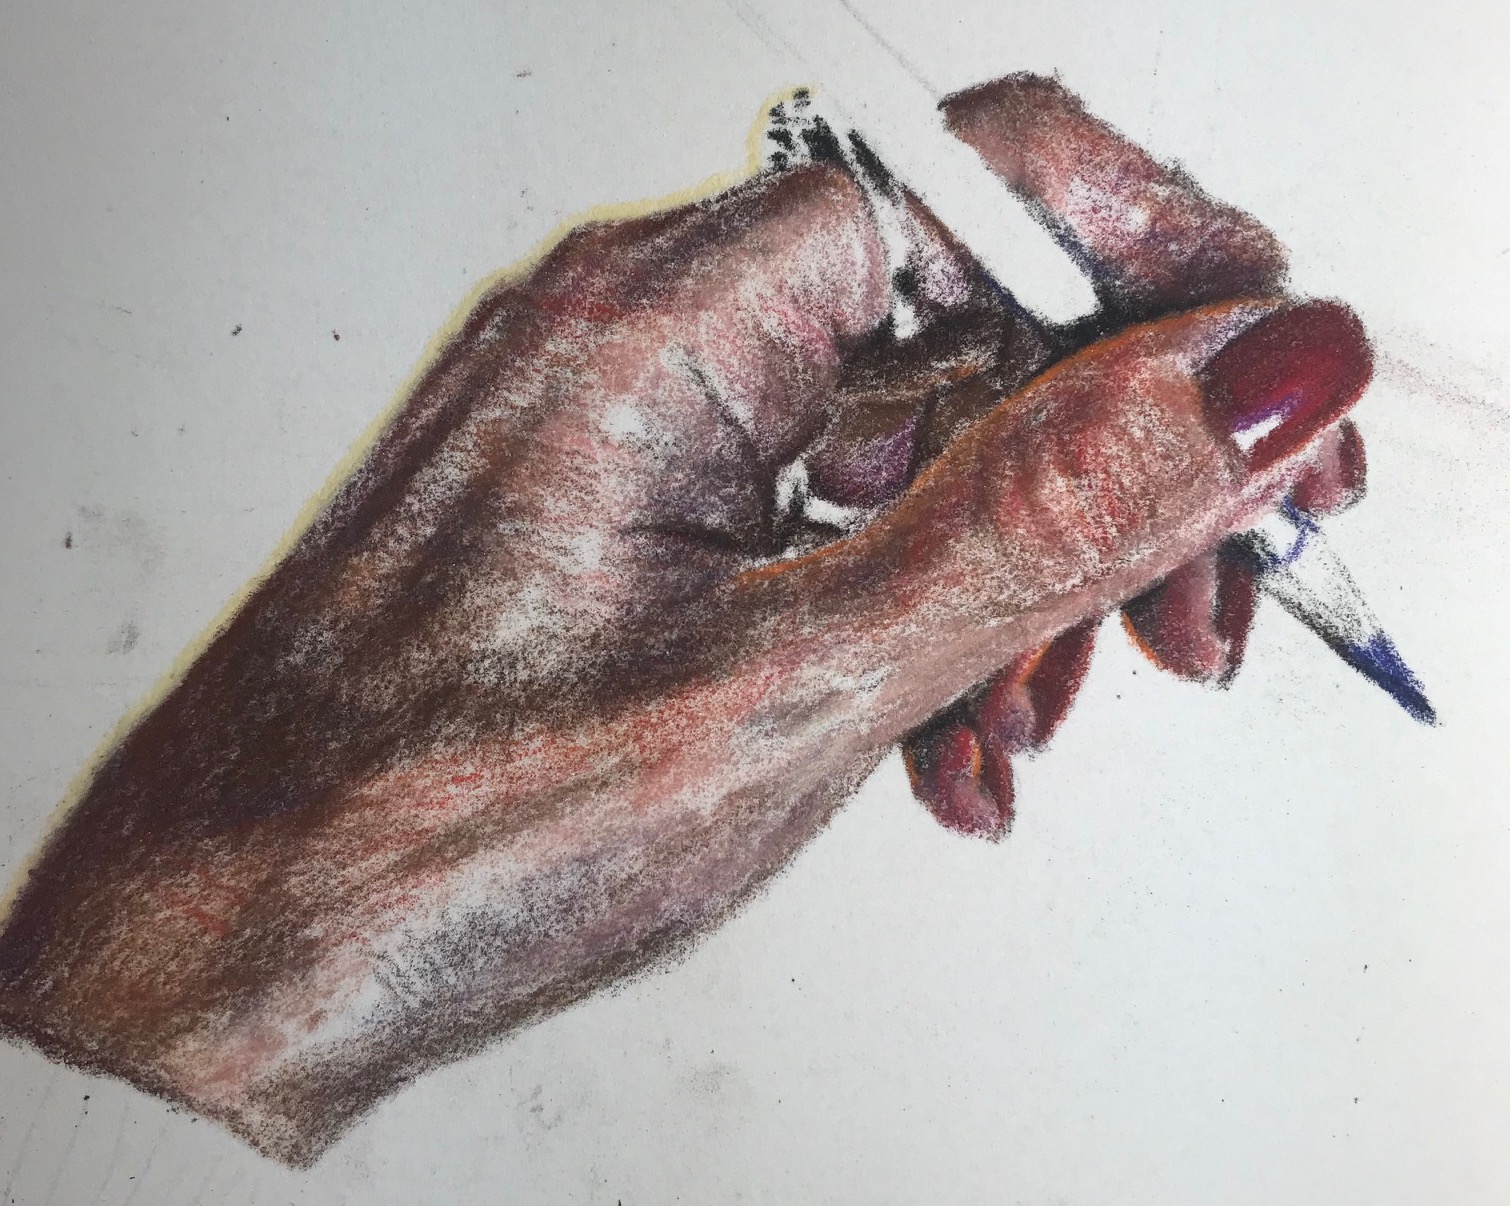
In the second step, I begin applying the first layer of the mid-tones. I am not too worried about texture at this point, as I will be applying several layers later on. I am using bright reds, oranges, pinks, and tans here. I am also using the bright purplish-blue color for the pencil, and also sparingly in the skin tones to create harmony in the drawing.
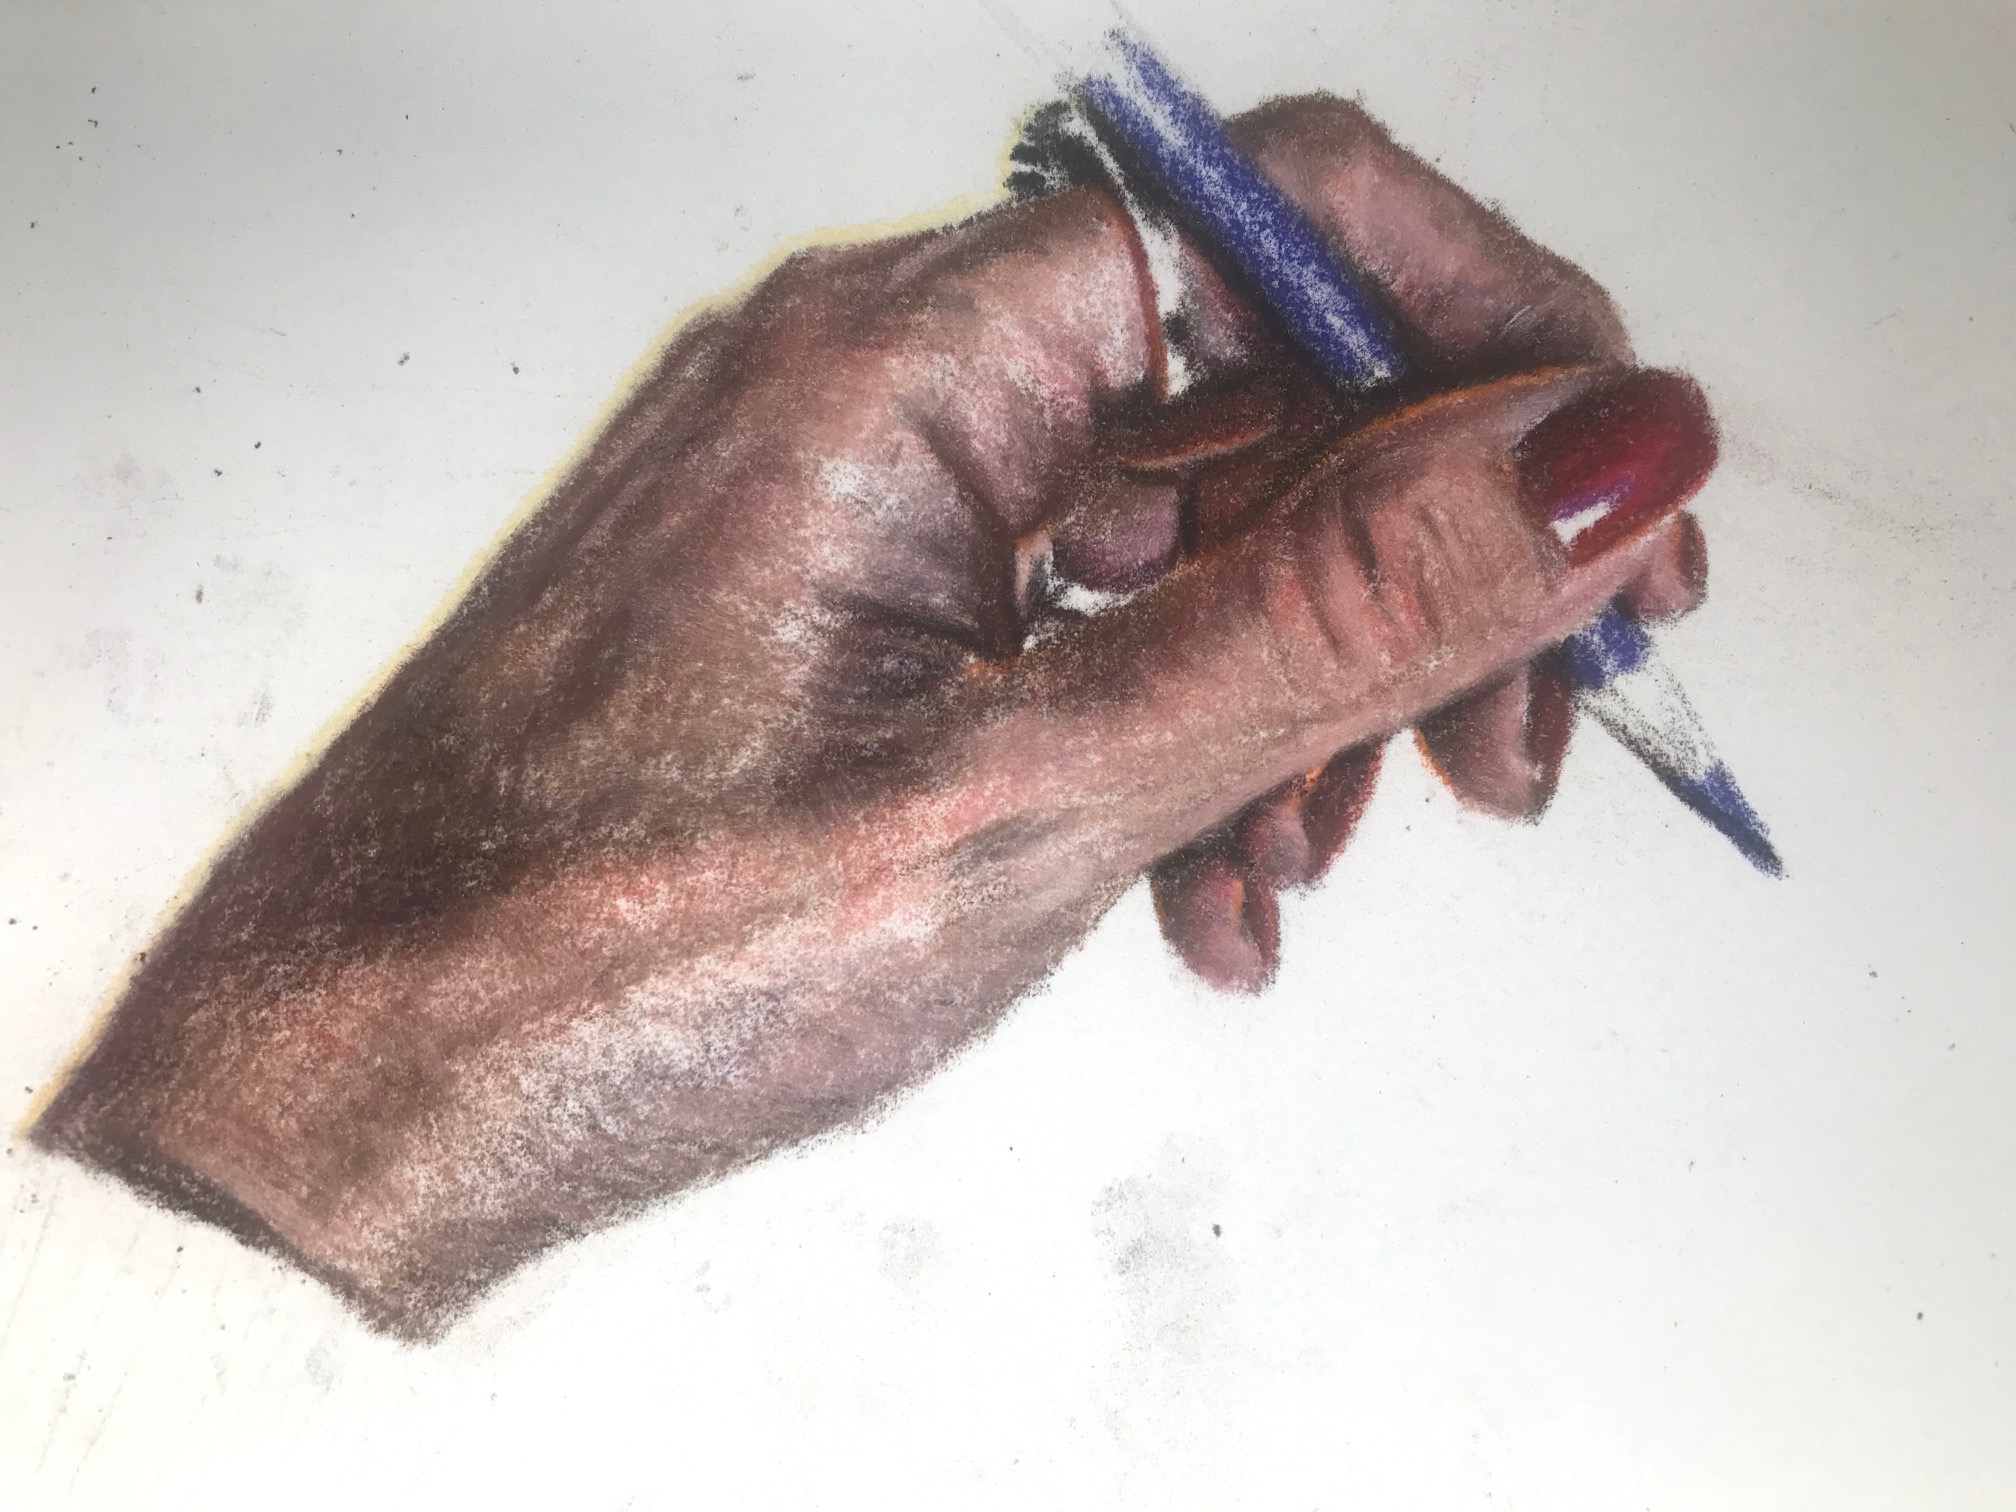
As I continue to work on the mid-tones, I begin adding some lighter flesh tones to blend the colors together. I don't need to use a separate blender one this surface, as the pencils themselves create a smooth finish when applied in layers.
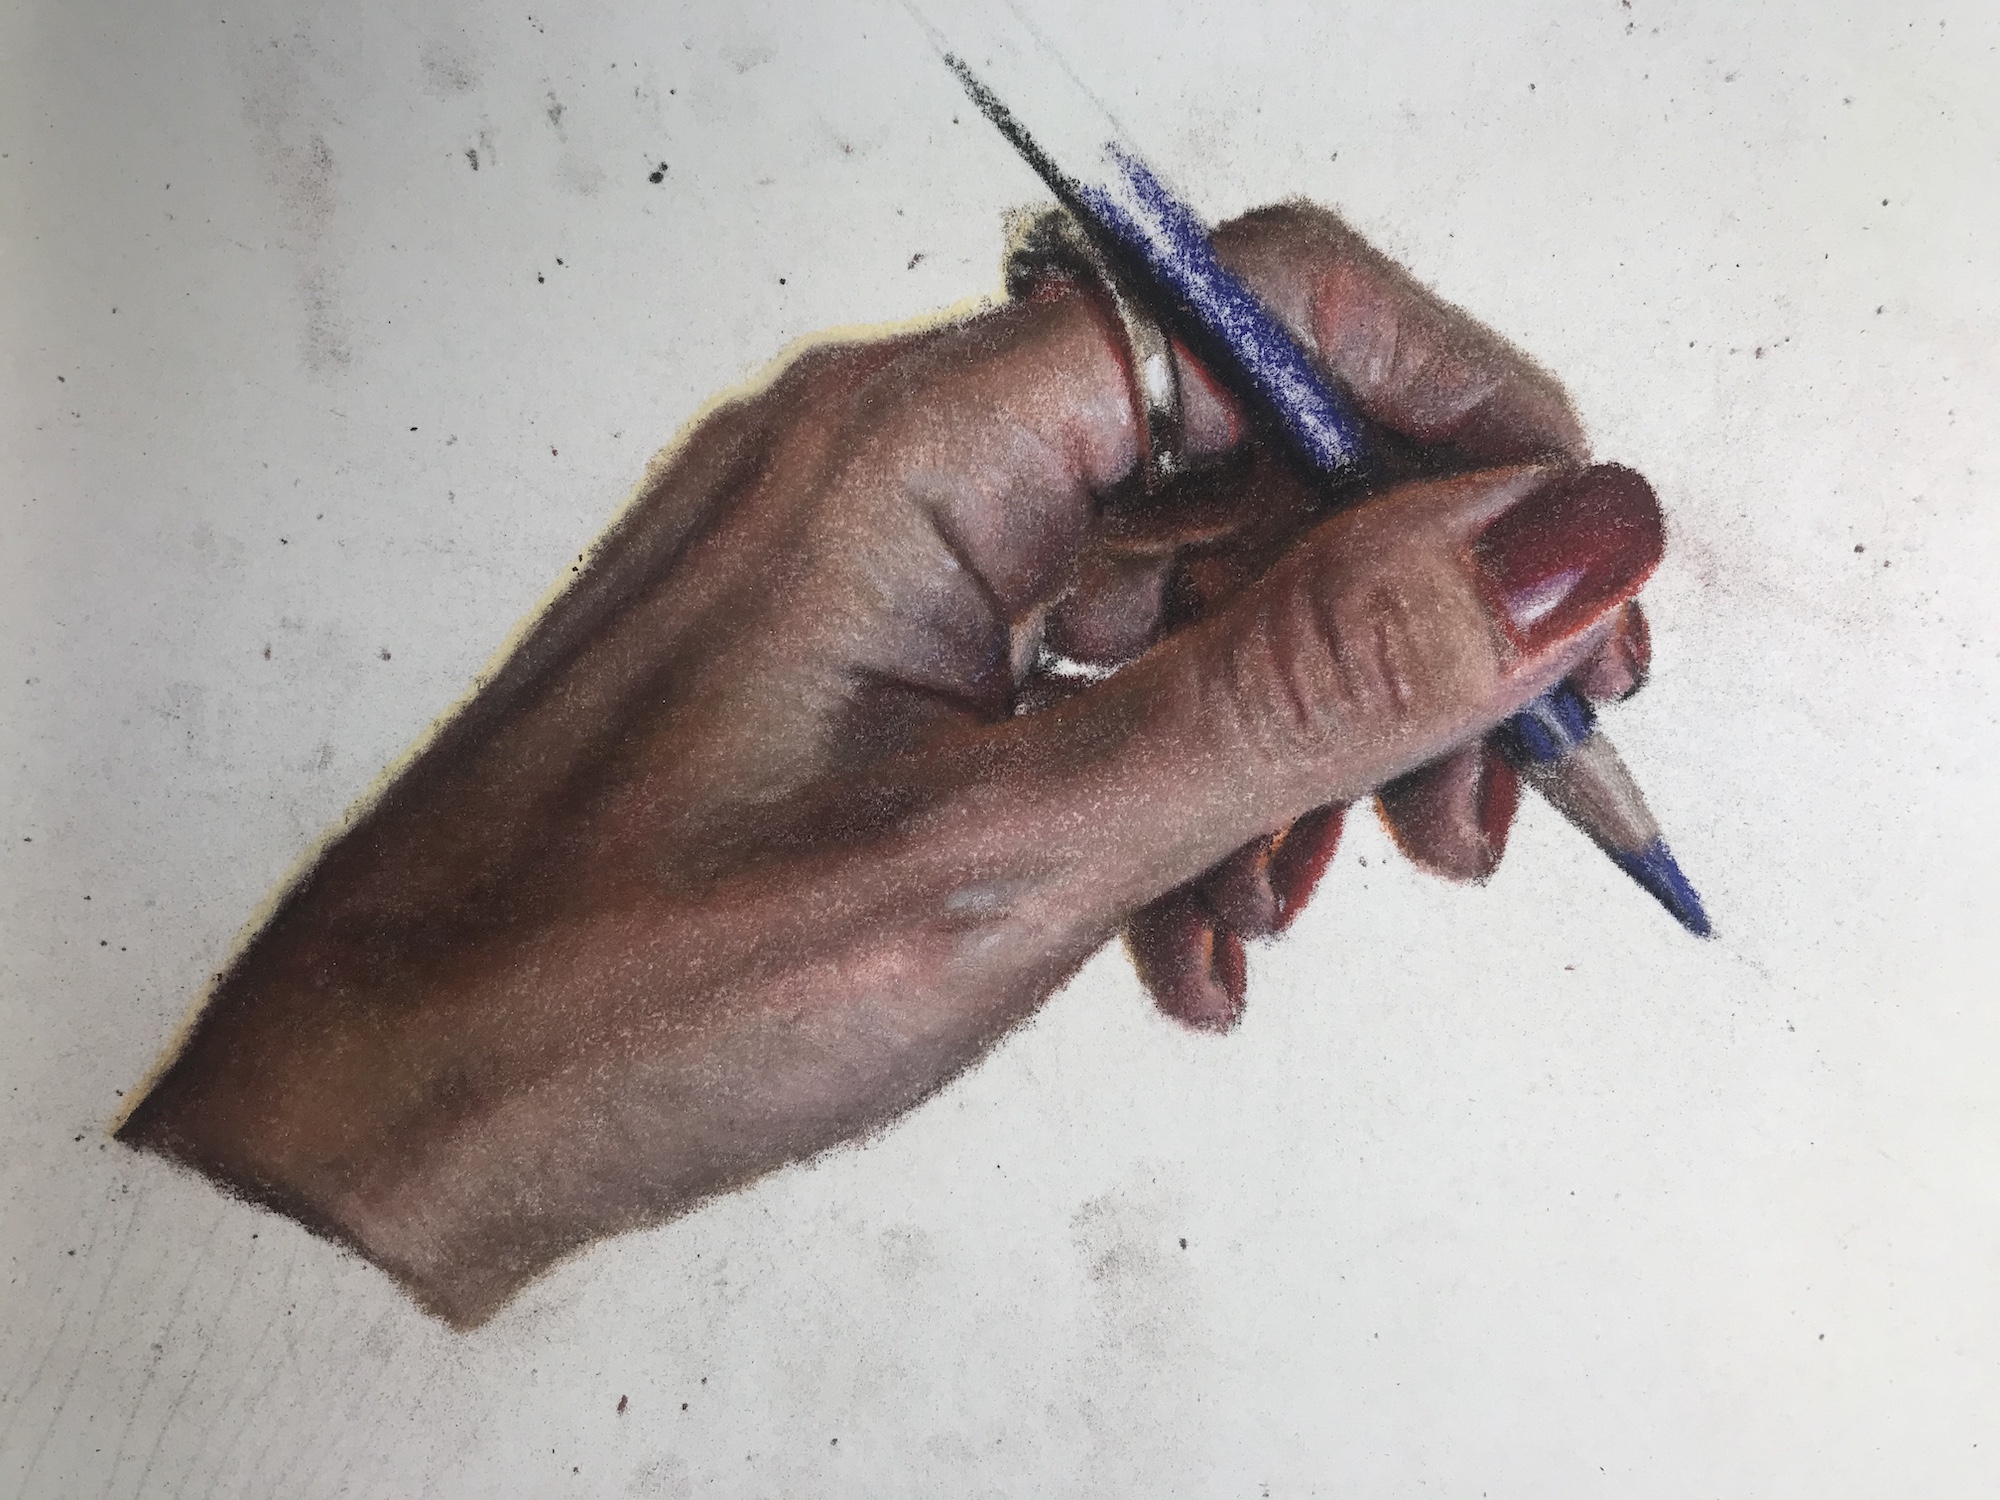
In the next photo, I am continuing to work the lights, while going back and adding dark and mid tones as needed. Sometimes establishing the lights will help you to see where more contract and depth is needed in the darker areas. I will keep the bright shine of the ring as a lighter value than the rest of the hand so that it really seems to shine.
In the photo below, I am starting to establish the background shadow to show that the hand is drawing on a white surface. I am also beginning to show the texture of the sweater cuff, again starting with the darkest colors for the shadows. Here I am also starting to use directionality of the pencil strokes to show contours of the hand and wrinkles in the skin.
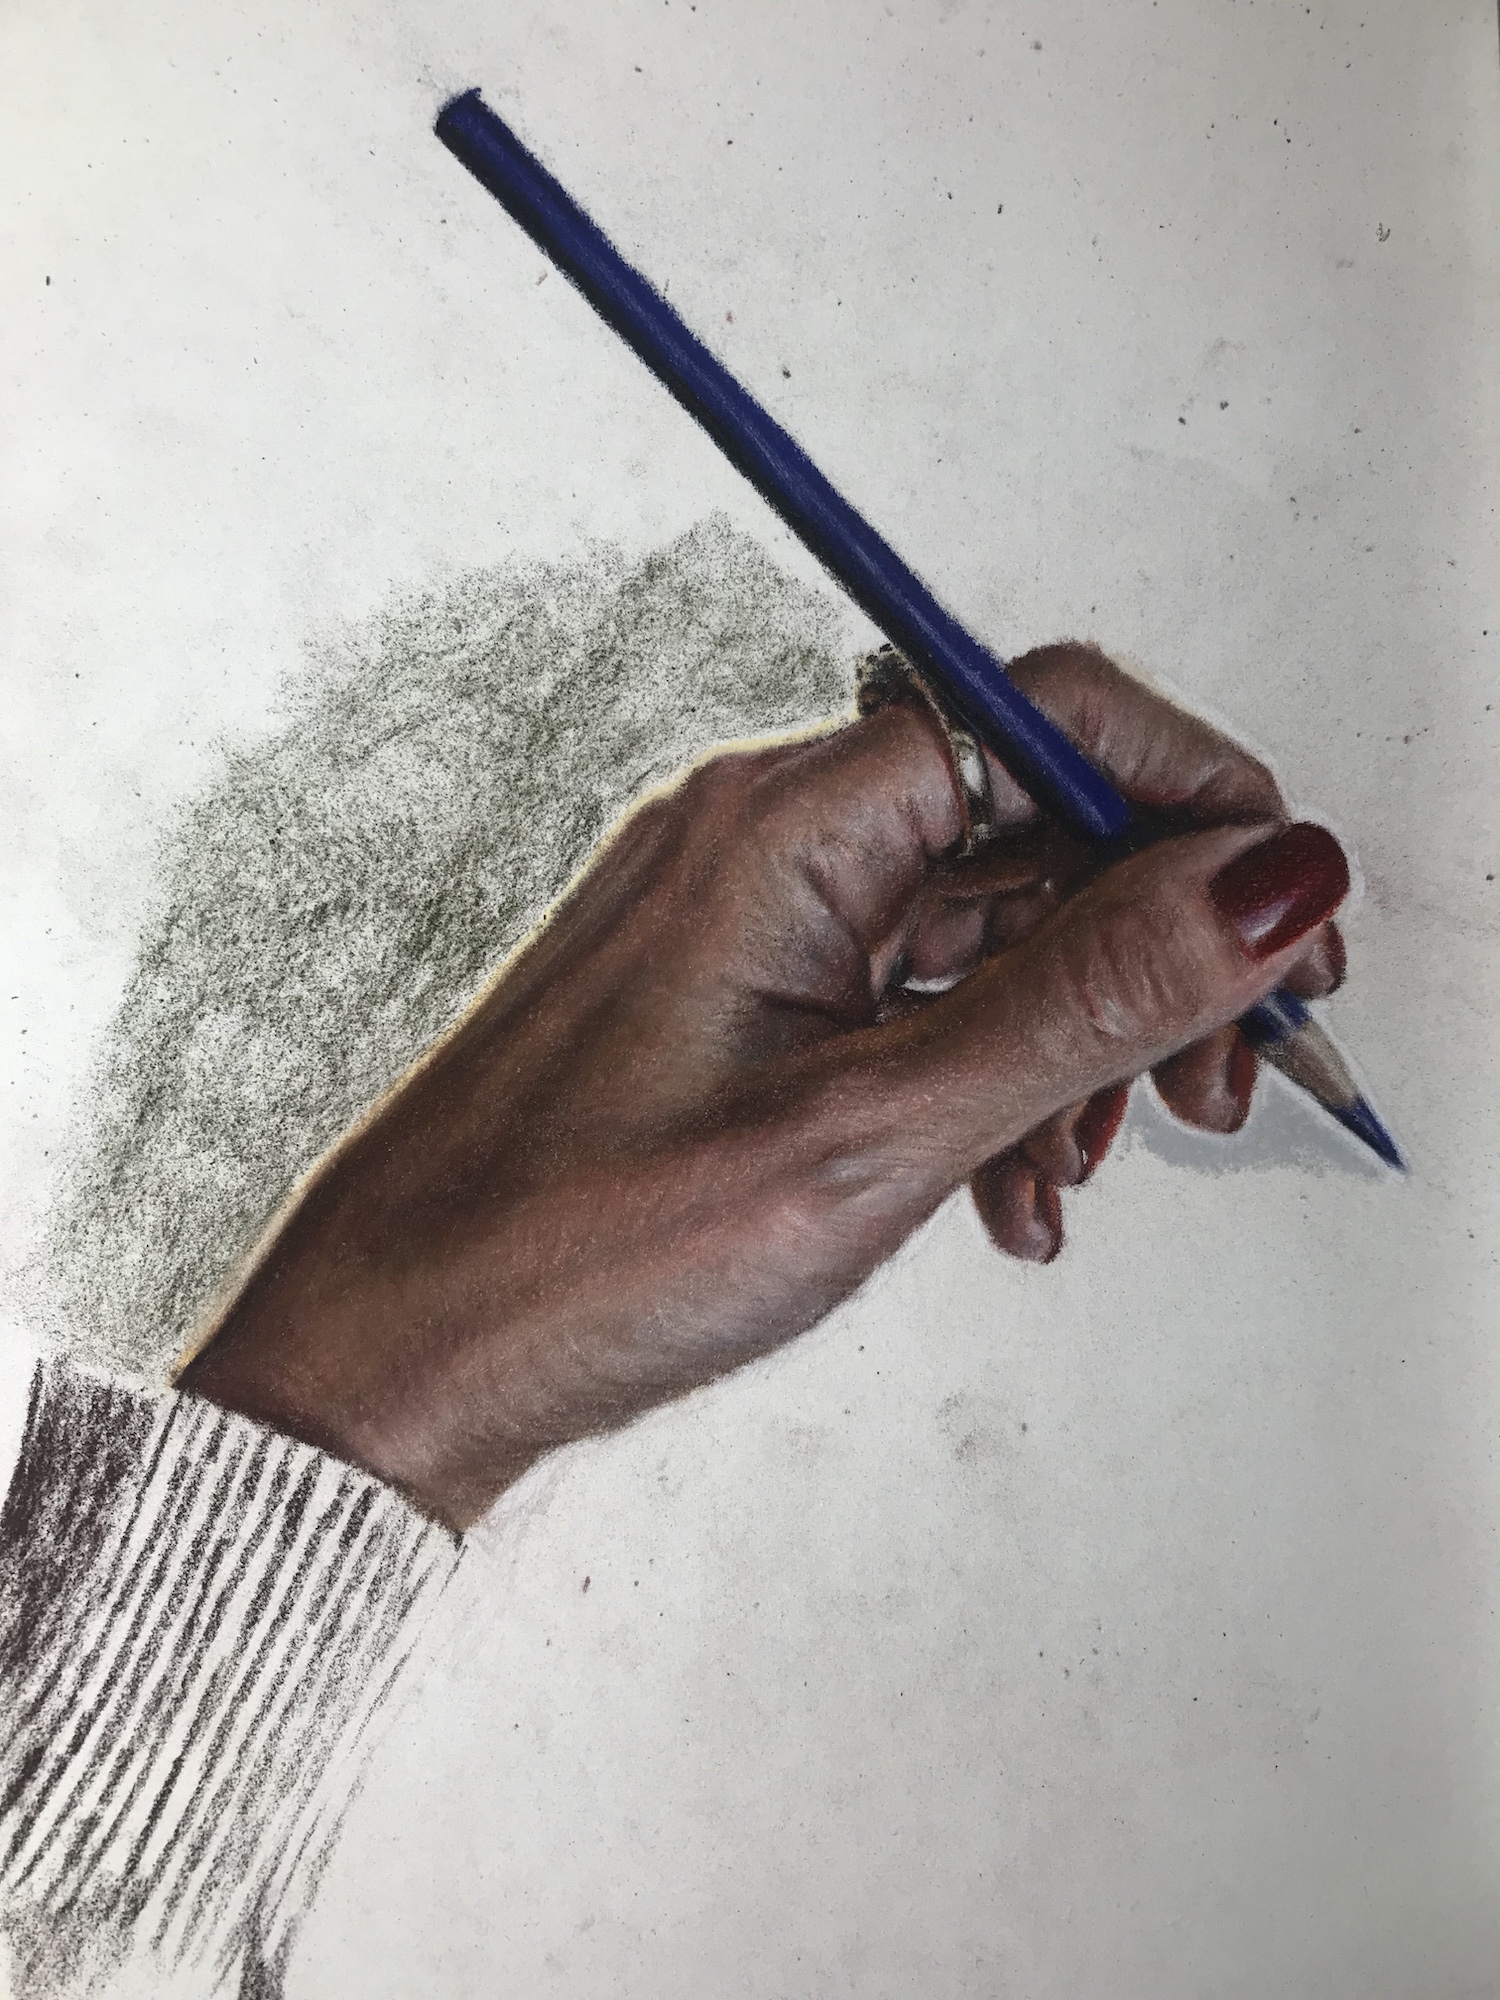
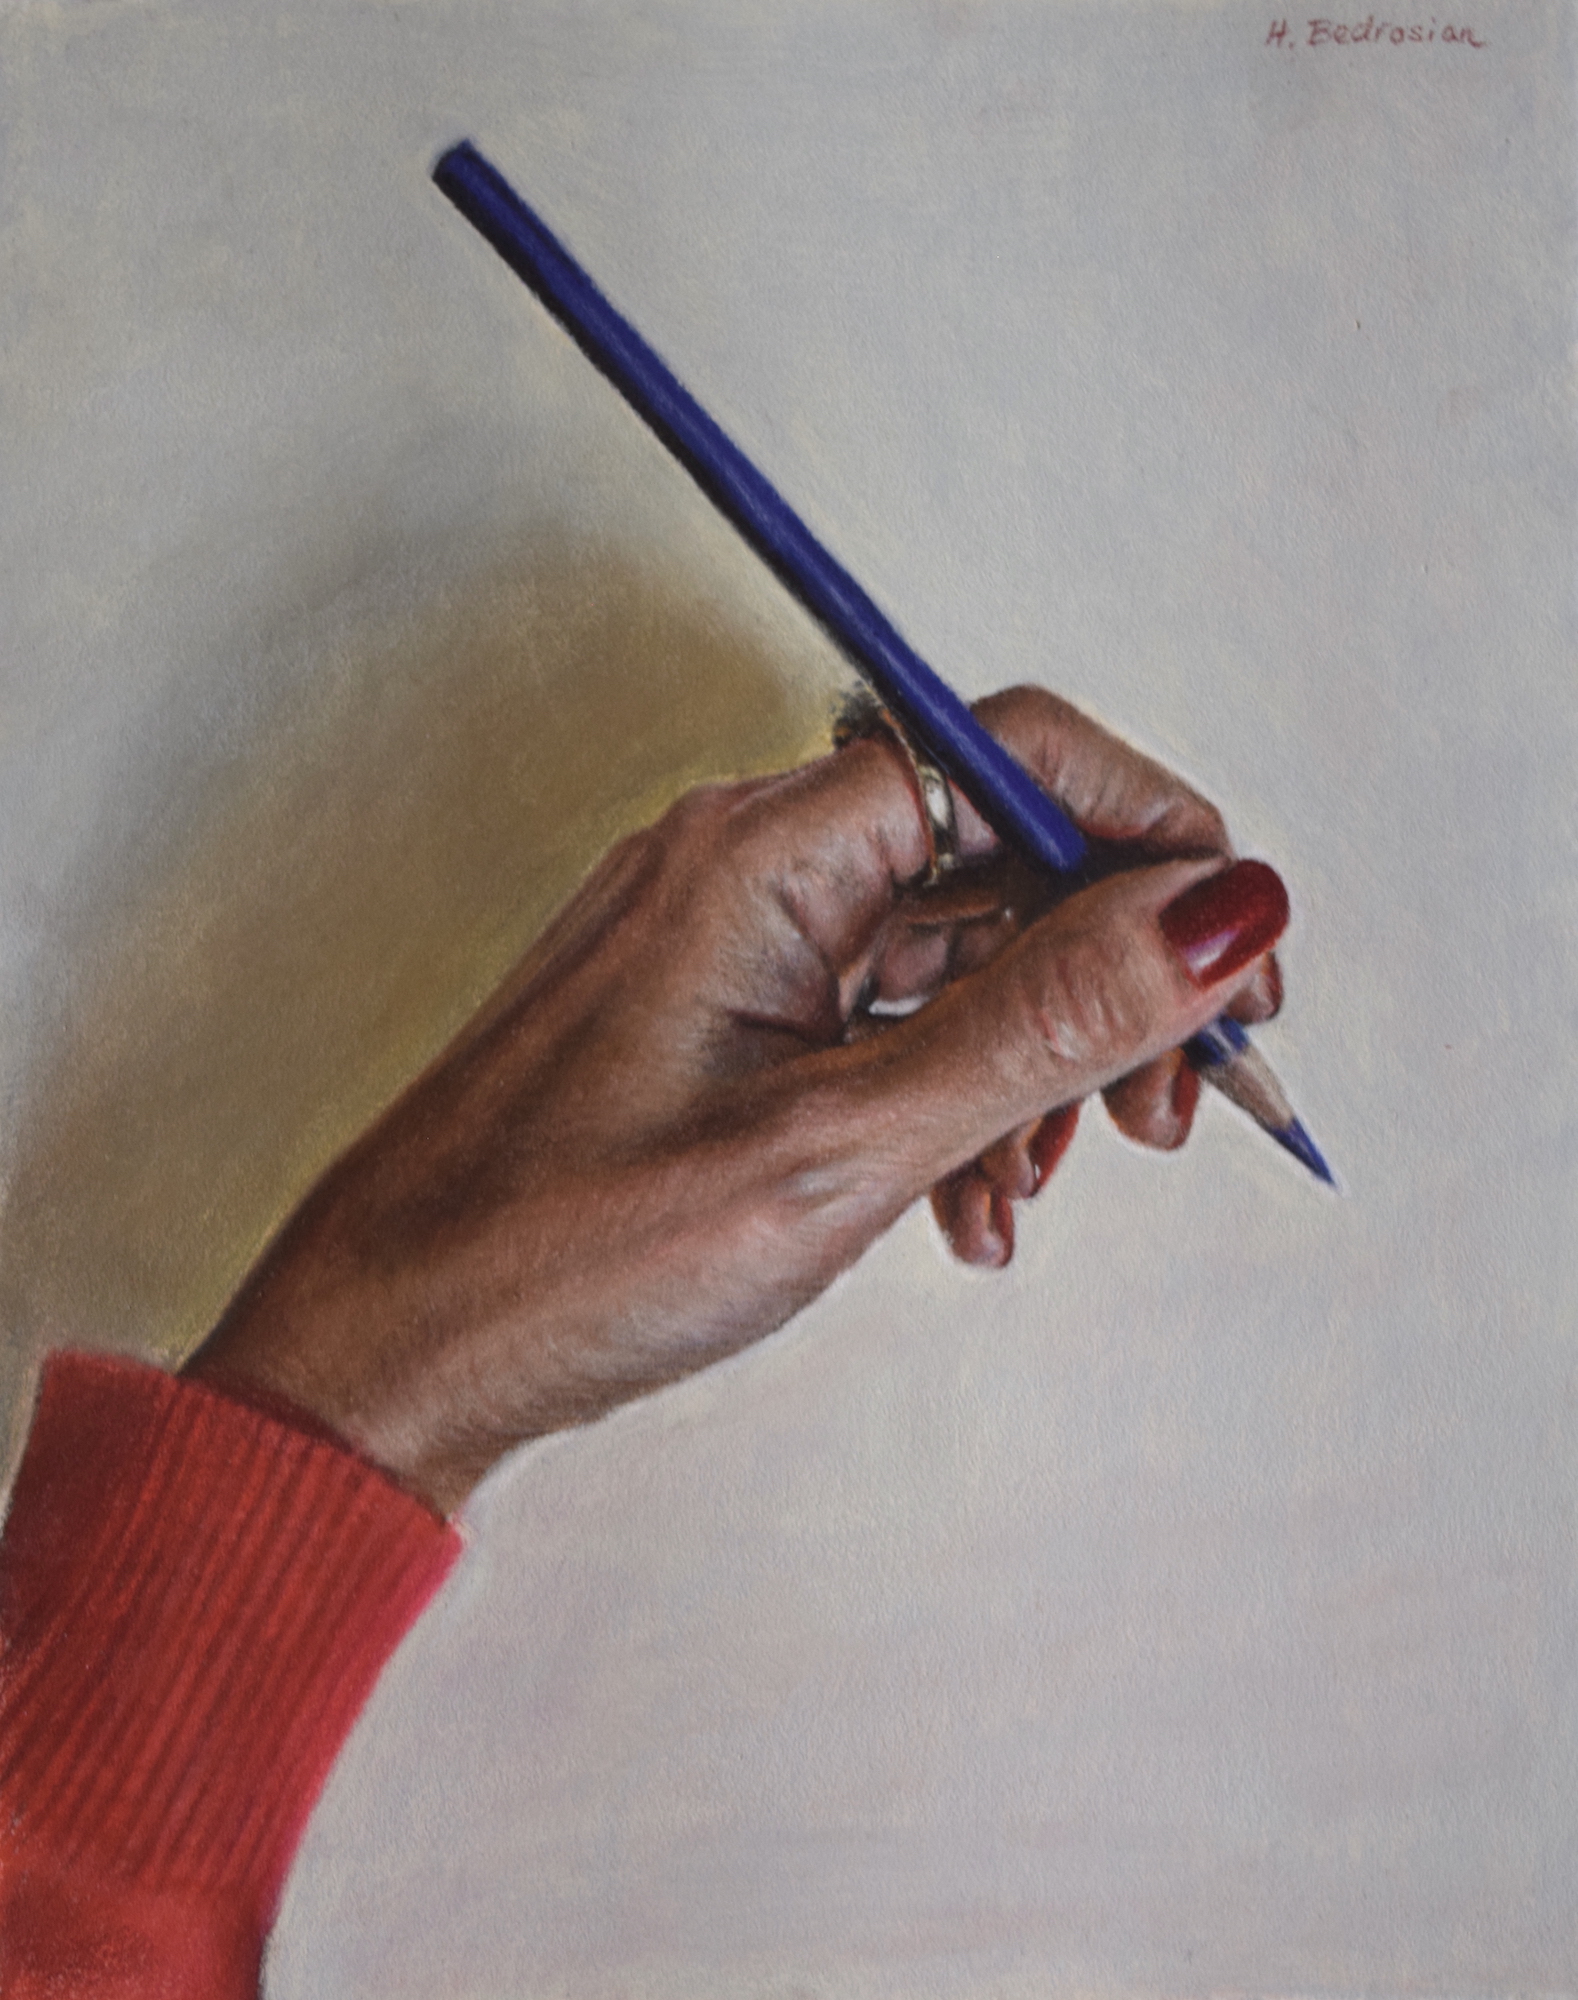
In the final photo, I have completed the hand, background, and sweater.

Leave a Comment